

Candle making is a fun, creative hobby that’s great for winding down or even spending a cosy afternoon with friends. If you’ve got a candle making kit, you’ve already taken the first step. That means you’re ready to enjoy scents, colours, and the warmth of your own creations. But hey, it is important to know that mistakes happen, especially when you’re just starting out. To keep things smooth and stress-free, here are the most common stuff-ups to watch for when you’re using a candle making kit.
1. Skipping the Instructions
I know you’re keen, and it’s tempting to skip straight to the fun stuff. But instructions are there for a reason. Every candle making kit is a bit different. The steps you skip just might be the reasons behind uneven wax melts, weak scents, or wicks that don’t work right.
So do yourself a favour: read the guide first. It’ll give you a clear path from wax to a gorgeous candle, and that makes the whole process way more enjoyable. Budget Depot’s candle making kit comes with a guide to help make your candle making process easier!
2. Measuring Without Care
Being precise can seem like overkill in a chill craft sesh, but in candle making, proportions really matter. If you add too much or too little fragrance oil, your candle won’t smell quite right. Using too much dye? Your candle might fade or burn oddly. Now, that won’t ruin everything but it can make your candle feel less special.
All you need is a little measuring, use the tools in your kit or a kitchen scale. It makes things simple and helps your candles turn out just right.
3. Heating Wax Too Hot or Too Slow
Wax has a sweet spot: too hot, and it burns your scent; too cold, and it clumps or doesn’t mix well. Kits usually give you a suggested temperature range so make sure to don’t skip that! Use a thermometer to keep your wax in the “just right” zone.
If you go too hot, you risk burning the fragrance or even causing a melted, runny mess. Too slow or too cool, and your candle may end up uneven or with weak scent throw. Follow the temp tip from your kit and it’ll make a big difference in how your candle looks and smells.
4. Choosing the Wrong Wick
This one’s easy to miss because it sounds small. But the wick is actually a big deal. Pick a wick that’s too thick, and the candle can burn too fast or smoke. Choose one that’s too thin, and you could be stuck with a weak flame or a candle that won’t burn down evenly.
Usually, your candle making kit provides the right wick so you can stick to it. If you’re mixing in your own, just make sure it matches your wax and container size. It helps everything burn nicely.
5. Rushing the Pour
Patience is your best friend here. Pour wax too quickly, and you might end up with bubbles, craters, or an uneven surface. Nobody wants that.
Take a deep breath and pour slowly. It may feel slow, but a gentle pour helps the wax settle nicely giving your candle a smooth, clean top that looks professional. You’ll thank yourself later when it looks fabulous.
6. Ignoring Cure Time
Alright, you made a beautiful candle, and you’re dying to light it. Been there. But hold on. Most candles need time to cure: this is when the wax and fragrance oil get cosy and bind together.
If you burn it right away, the scent might be weak or uneven. Let your candle rest maybe a few days before lighting it. You’ll get better fragrance, a more even burn, and a longer-lasting candle. Some waiting is totally worth it!
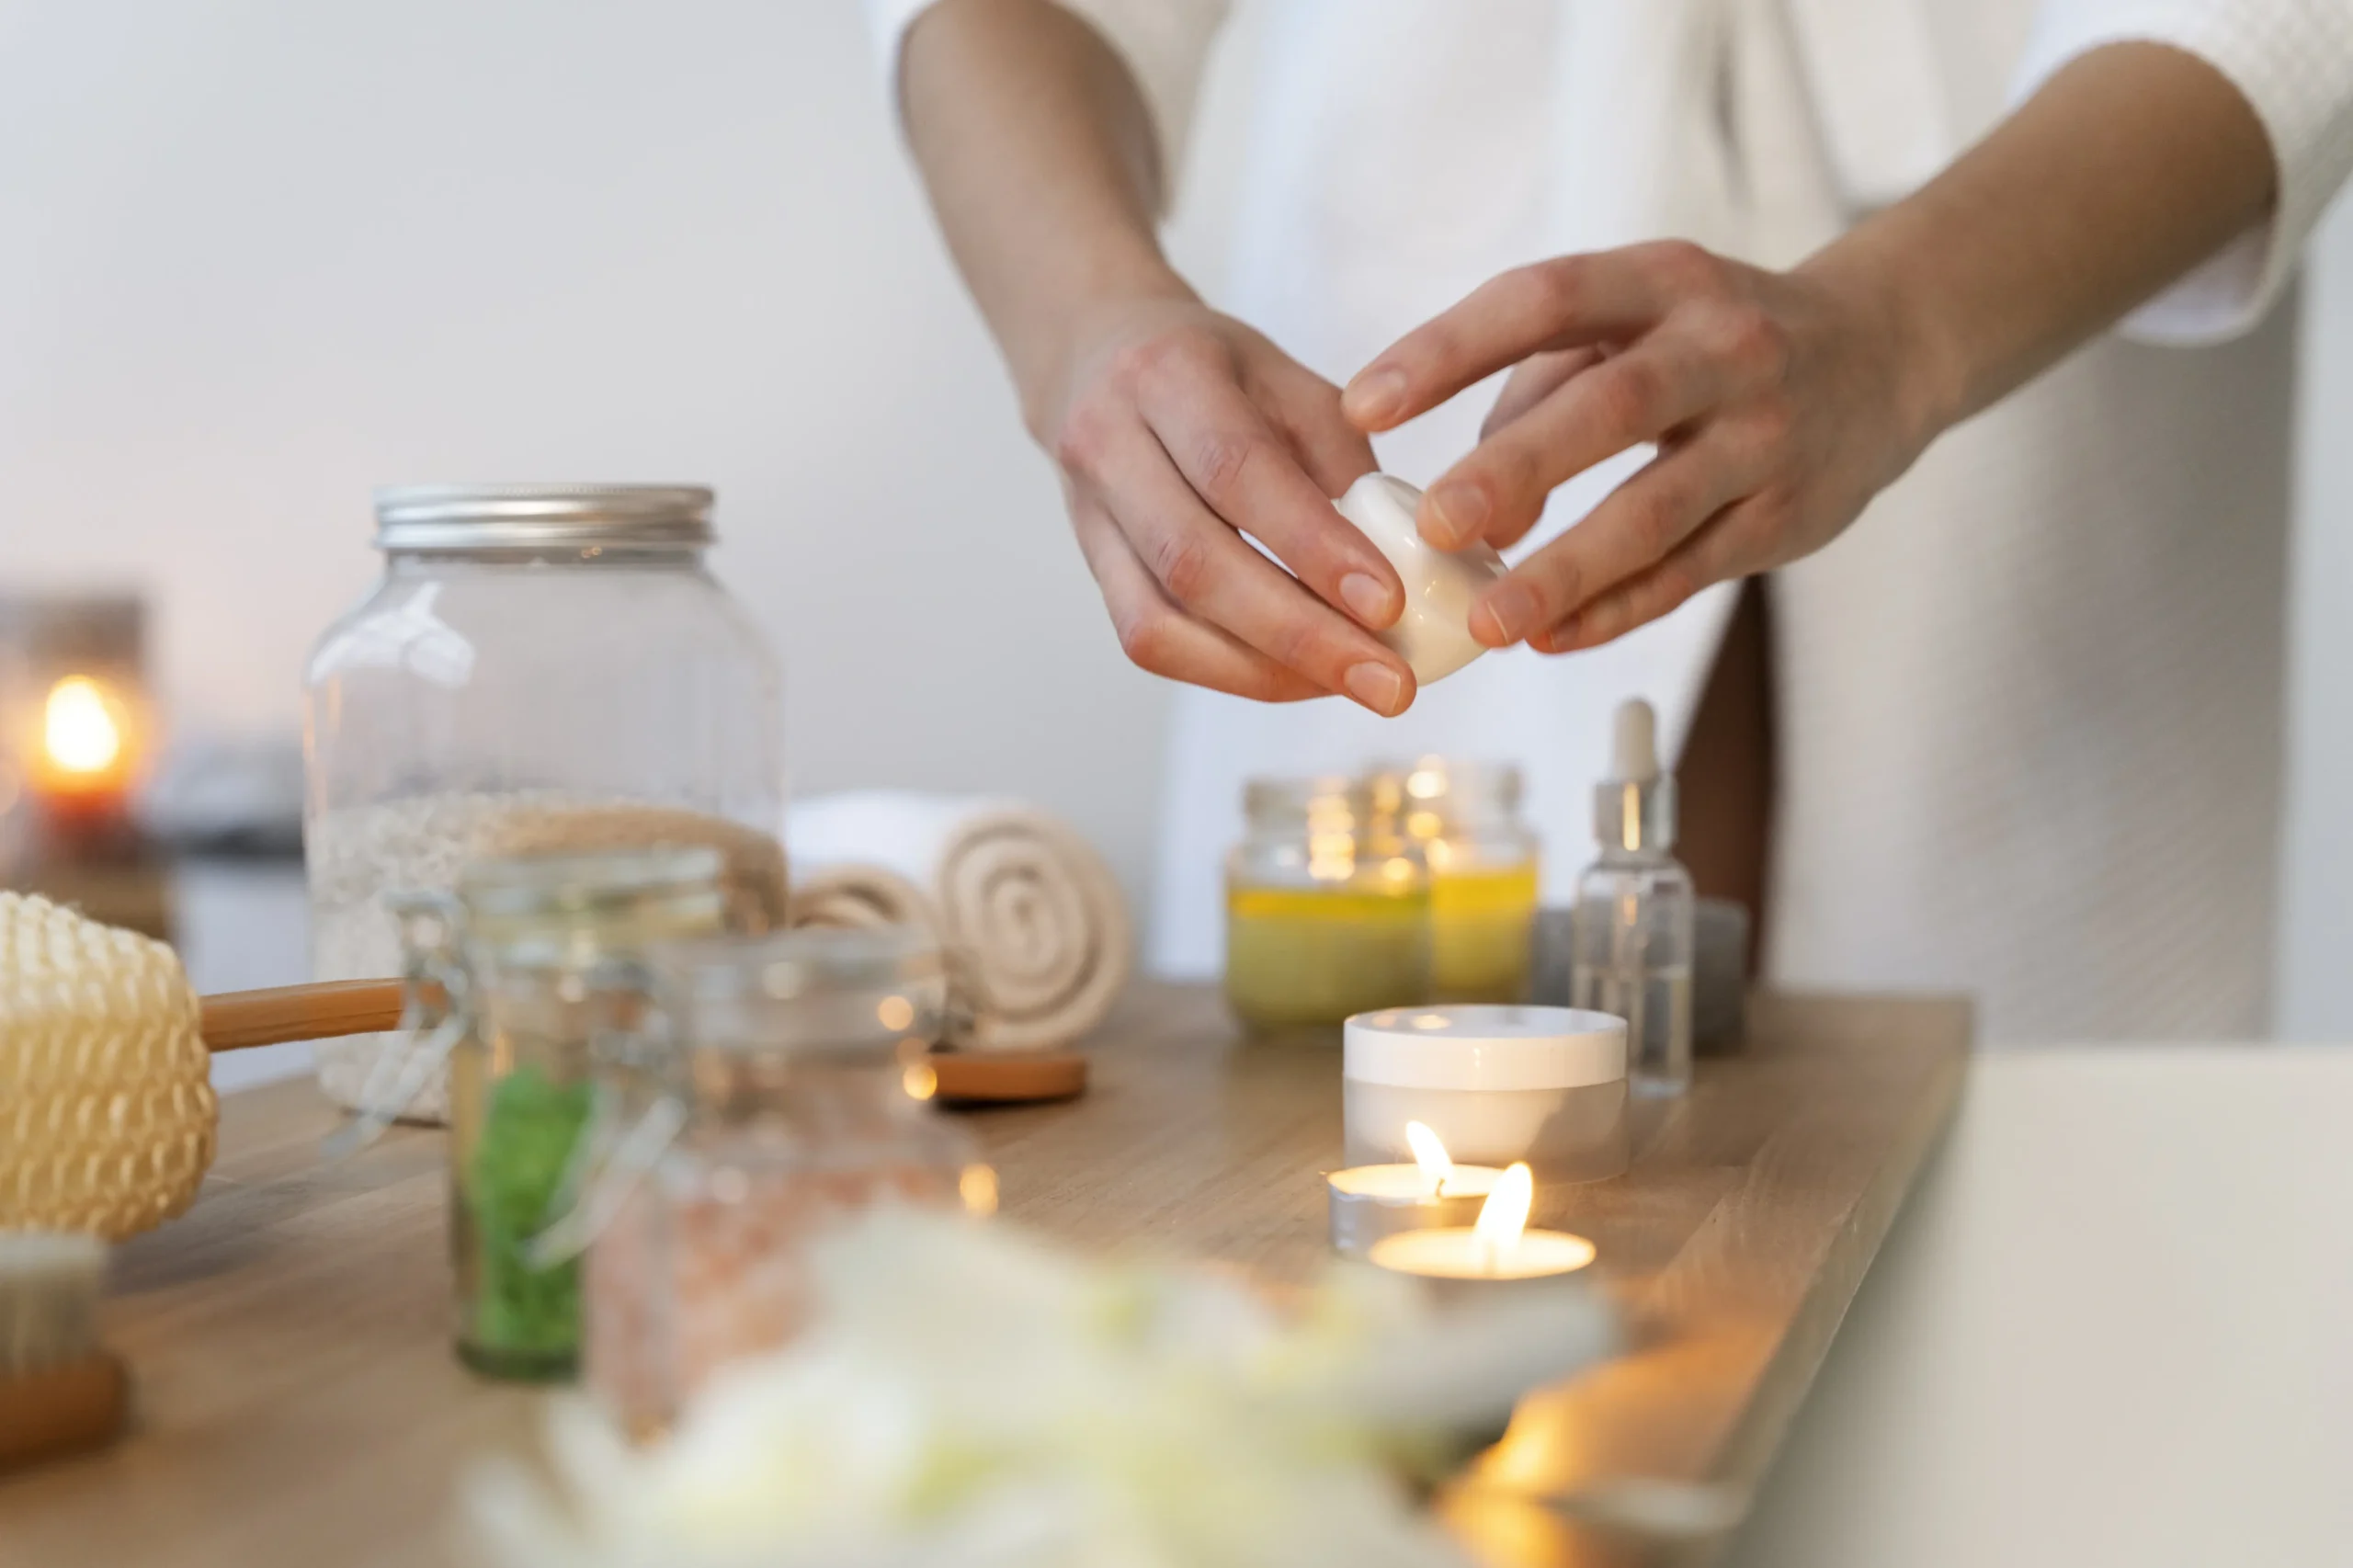
7. Not Working in a Tidy Space
Candle parts can make a… mess. If you don’t prep a clean workspace first, wax drips and falling dye bits can get everywhere on your clothes, your table, anywhere.
Get a few old towels, layout parchment paper, and put all your tools out. Clean up as you go, and then finish with warm soapy water. Starting and ending with a clean space keeps everything smooth and easy.
8. Skipping Safety Steps
Wax, heat, flames – yes it’s all part of the fun, but it’s also part of what you’ve got to respect. Don’t overlook simple safety steps like:
- Using a double boiler or melting pot
- Having a fire extinguisher or baking soda on hand, just in case
- Not leaving hot wax (or a candle) unsupervised
Some simple steps can make your craft time safe and stress-free.
Wrapping It All Up
Making candles with a candle making kit is incredibly satisfying. You make something that smells amazing, looks beautiful, and is completely yours! Some planning, patience, and attention to detail can take your candles from mediocre to absolutely lovely.
Here’s the best part: you don’t have to spend a fortune to get started. If you’re looking out for a kit that’s both wallet-friendly and filled with solid supplies, check out Budget Depot’s candle making kit. It provides everything you need: wax, wicks, scents, tools and keeps things affordable. If you’re being crafty or you just want to gift something handmade, this kit will set you up for success. It’s high quality, easy to use, and budget-friendly – Job’s sorted!
So grab your Budget Depot’s candle making kit, set up a cosy workspace, and enjoy the glow (and scent!) of your creations. You’ve got this and your home is about to smell ah-mazing.
FAQs
From start to finish, it usually takes about 1 to 2 hours. But remember, you’ll need to let it cure for a few days before lighting!
Yes, you can! Just be sure the total fragrance amount stays within the kit’s recommended limit so it burns safely.
That can happen if the wax was poured too fast or too hot. Try pouring slowly and at the right temperature next time.
They can be, with adult supervision. There’s hot wax involved, so it’s best to do it together for safety.
Most candles need to cure for 2–3 days. Waiting helps the scent set and gives you a better burn.
