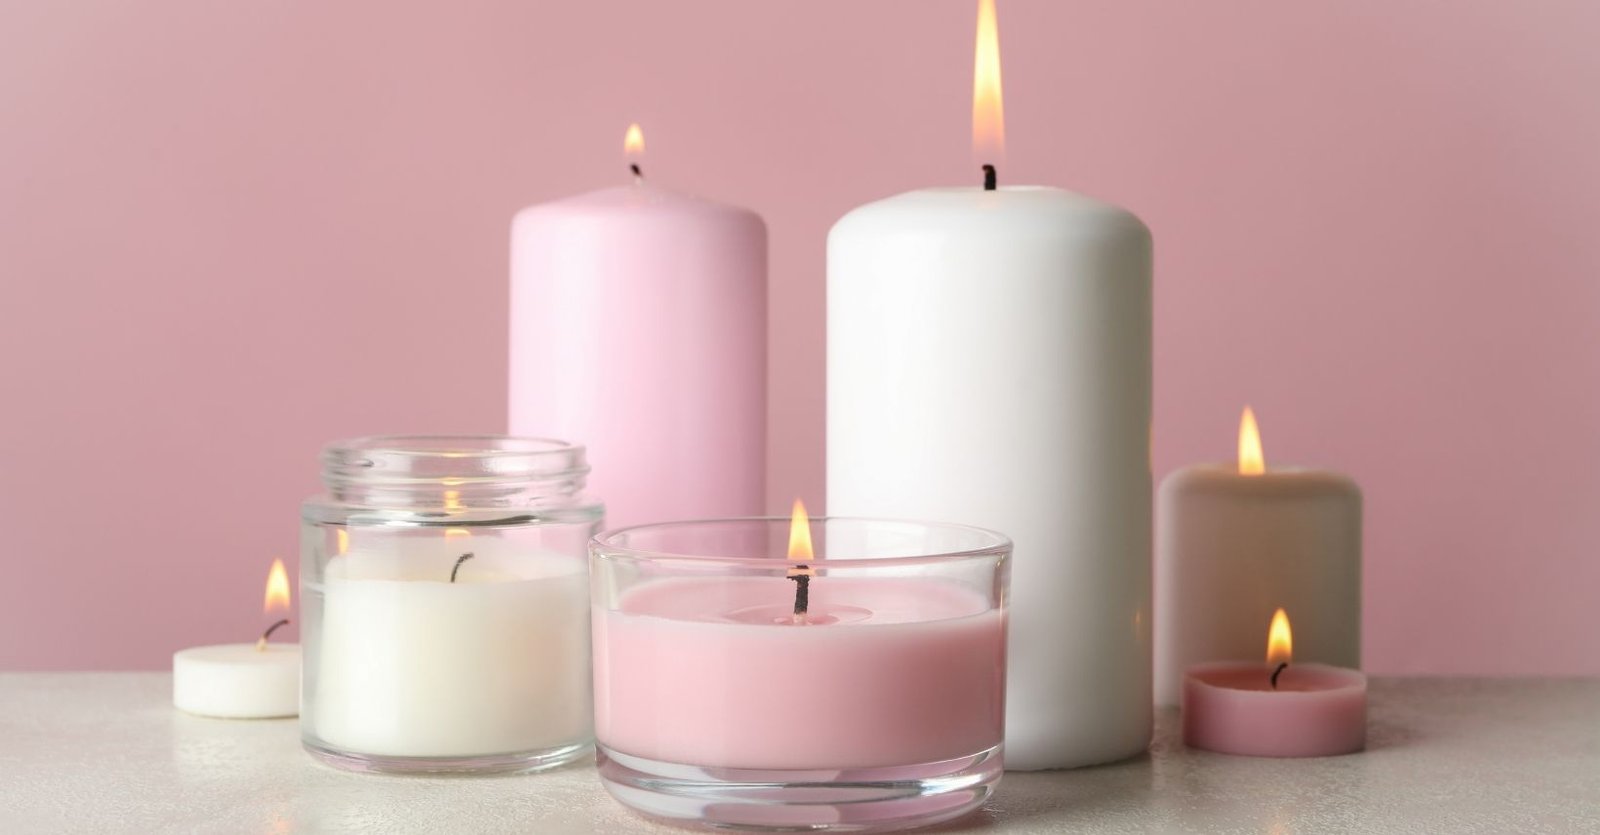
Candle making is a fun and relaxing hobby for anyone! You can simply do it for yourself and use it as a way to relax, or even think about selling them one day. Plus, your house will smell great, and if you are just starting, do not stress! You don’t need to buy a bunch of tools or search for every single item. There’s a much easier way.
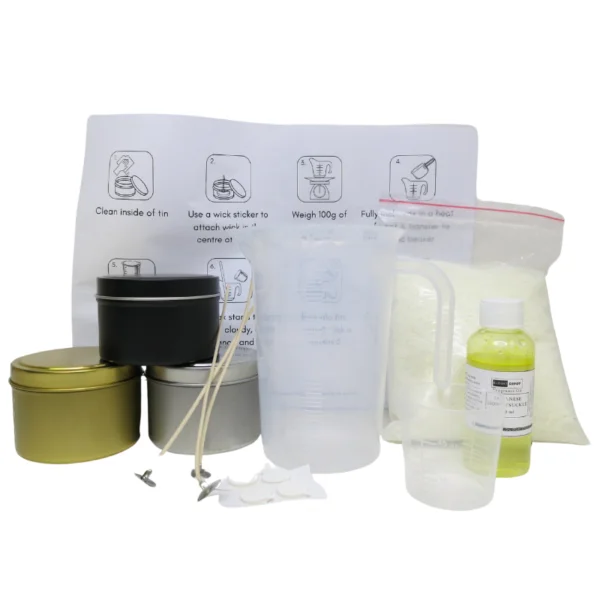
To keep things simple, you can buy the DIY Candle Making Kit from Budget Depot. This kit is perfect for beginners. It has everything you need to make beautiful container candles. It includes natural soy candle wax, fragrance oil, cotton wicks, wick holders, a measuring cup, and even candle making jars (tins). It also comes with clear step-by-step instructions to help you from start to finish.
Let’s go through the candle making steps, one by one.
Step 1: Measure Out Your Wax
First, take the container you’ll use to hold your candle. This could be a small tin from your kit. Fill it with soy wax pellets (that’s your candle making wax) to see how much wax you’ll need.
Then, pour that wax into a bowl and place it on a kitchen scale. Write down the weight. This will help you know how much fragrance oil to use later.
Step 2: Melt the Wax
Now it’s time to melt the wax. Take the mini pouring pot from your kit and add the wax pellets to it. Then, take a larger pot and fill it halfway with water. Put the pouring pot (with wax inside) into the bigger pot. This setup is called a double boiler.
Heat everything on medium heat. This method melts the wax slowly and safely. It’s just like how you melt chocolate.
Use the thermometer from your kit to check the temperature. You want the wax to reach 75°C.
Step 3: Add the Fragrance Oil
Once your wax reaches 75°C, it’s time to add the fragrance oil. The kit includes a 60ml bottle of fragrance oil. Add the correct amount (check the instructions included in the kit for the right amount based on the wax weight) carefully. Pour it in slowly and stir well. Just make sure the scent mixes evenly with the wax.
Step 4: Let the Wax Cool
After mixing in the scent, turn off the heat and let the wax cool down. Allow it to cool to about 65°C. This is the best temperature to pour your wax. If you pour it too hot, you can end up with uneven tops or air bubbles in the candle.
Step 5: Prepare Your Wick
While the wax is cooling, it’s time to get your wick ready. Take one of the cotton wicks from the kit. Stick the metal base of the wick to the bottom center of your candle tin. Use a wick stickum (also in the kit) or a small dot of hot glue to hold it in place.
Then, use a wick holder (also included) or even a clothespin to keep the wick standing up straight in the center. This makes sure the wick stays in the right spot when you pour the wax.
Step 6: Pour the Wax
Now, carefully pour the wax into your container. Take your time and pour slowly. If the wick moves while you’re pouring, gently fix it while the wax is still warm and liquid. Make sure the wick stays straight in the center.
Step 7: Let the Candle Set
Now, the hardest part is waiting! Leave your candle in a safe place and let it cool completely. This may take a few hours. Don’t move it during this time, or the surface might not be smooth.
Once the wax is fully hard, trim the wick to about ¼ inch. Your candle is now ready to use!
What’s Inside the DIY Candle Making Kit from Budget Depot?

The Budget Depot Candle Making Kit gives you everything you need to get started. Here’s what’s included:
- 300g Natural Soy Wax – Eco-friendly, clean-burning wax for smooth and long-lasting candles.
- 3 x Cotton Wicks – High-quality wicks for consistent burning.
- 3 x Wick Holders – These help keep your wicks centered while pouring and cooling.
- 3 x Wick Stickums – Sticky tabs to help secure your wicks.
- 3 x 100g Candle Tins – Stylish and heat-safe candle making jars (color may vary).
- Mini Pouring Pot – Used for melting your wax safely.
- 60ml Measuring Cup – For measuring and pouring your fragrance oil.
- 60ml Fragrance Oil – A best-seller scent (selected at random).
- Step-by-Step Instruction Guide – Easy to follow and beginner-friendly.
This kit makes three container candles and is a great way to start candle making without having to buy lots of items separately.
Ready to Start?
So, are you ready to try candle making? The DIY Candle Making Kit from Budget Depot is a simple way to dive in. It’s enjoyable, smells great, and includes all of the supplies you need in one box. There is no guessing or gathering supplies yourself.
Just simply follow the steps and have fun. You’ll have your brand-new handmade candles. Visit our website to get your kit today!
FAQs
You’ll need candle making wax, wicks, fragrance, a candle making jar, and some basic tools or you can simply use a Candle Making Kit to make it easy.
Yes, a Candle Making Kit like the one from Budget Depot is perfect for beginners and comes with everything you need.
Soy candle making wax is best for beginners because it’s easy to use, clean-burning, and works great in containers.
Use heat-safe containers like tins or glass jars; the Budget Depot kit includes ready-to-use candle making tins.
Yes, it’s safe if you use the double boiler method and follow the instructions. The Budget Depot kit includes a mini pouring pot for easy, safe melting.


